Make Delicious KitchenAid Ice Cream at Home: A Step-by-Step Guide
Learn to make delicious KitchenAid ice cream at home with our step-by-step guide! Enjoy creamy, homemade treats any time.

Why settle for store-bought ice cream full of additives? You can make creamy, customizable batches in your kitchen.
Yield: ~8 servings (½ cup per serving). Timing: 🕙Total: ~25 hours | Prep: 30 mins | Freezing time: 24 hours | Churning: 20-30 mins.
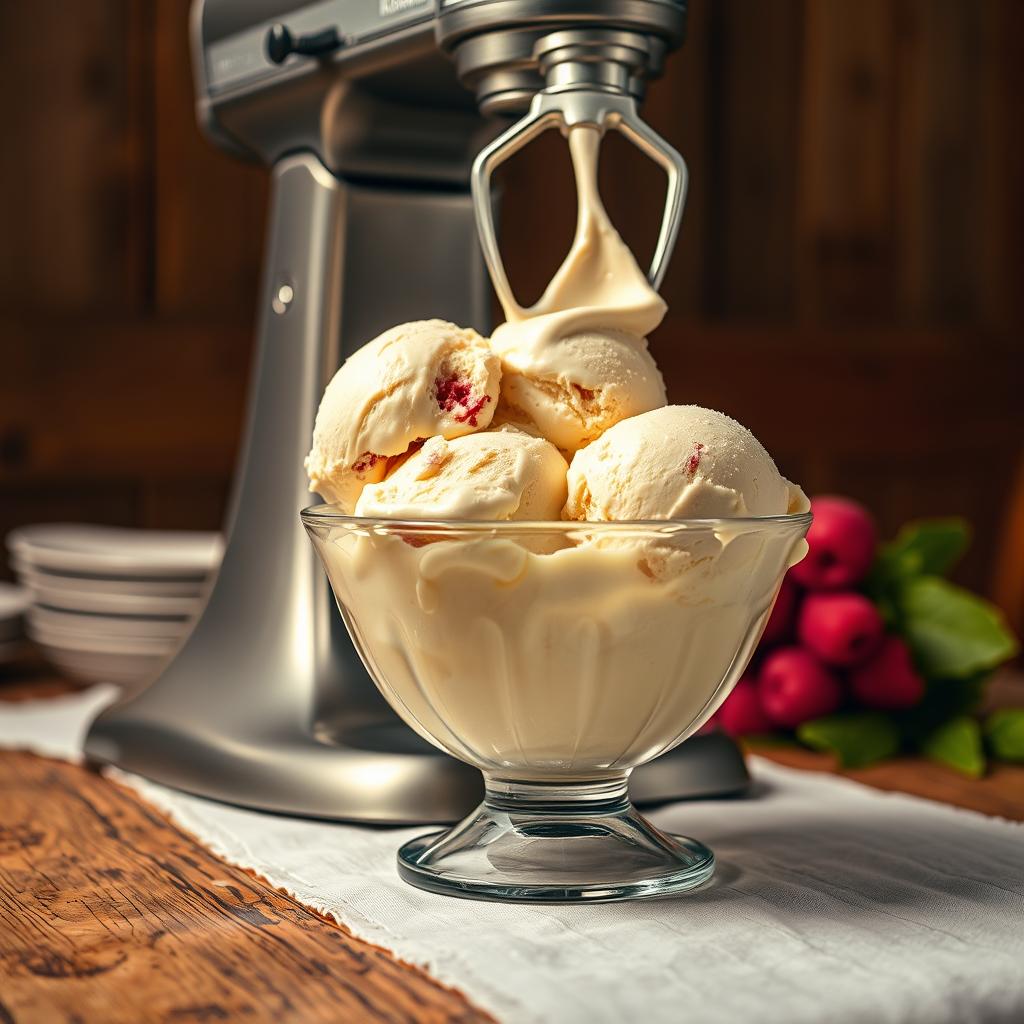
Imagine scoops of velvety vanilla or chocolate swirls made with ingredients you control. All from your KitchenAid stand mixer. This kitchenaid ice cream recipe turns your kitchen into a dessert lab. It avoids the artificial flavors of store-bought options.
With your KitchenAid attachment, you’ll master the science of churning rich, dairy-based treats in under a day. Whether you’re vegan, gluten-free, or just love experimenting, this homemade ice cream guide ensures success every time.
📋 Overview Of Content
- Key Takeaways
- Why Homemade KitchenAid Ice Cream Beats Store-Bought Every Time
- Essential Equipment for Your KitchenAid Ice Cream Adventure
- The Perfect KitchenAid Ice Cream Recipe for Beginners
- Setting Up Your KitchenAid Ice Cream Attachment
- Step-by-Step Churning Process with Your KitchenAid
- Flavor Variations and Mix-in Ideas for Your Kitchenaid Ice Cream Recipe
- Troubleshooting Common KitchenAid Ice Cream Issues
- Conclusion: Enjoying Your Homemade KitchenAid Ice Cream Creations
- FAQ
Key Takeaways
- Use your KitchenAid mixer to make 8 servings of fresh, additive-free ice cream.
- Cutting prep time to under an hour lets you focus on creativity, not waiting.
- Customize flavors with mix-ins like chocolate chips or fruit purees.
- The process uses basic ingredients and minimal equipment.
- Mastery comes from freezing the attachment and timing the churn perfectly.
While you're preparing your ice cream, why not enhance your dessert spread with a chocolate bun delight? This indulgent chocolate recipe is perfect for pairing with your homemade ice cream for an extra chocolatey treat.
Why Homemade KitchenAid Ice Cream Beats Store-Bought Every Time
enjoying ice cream made with your own choice of ingredients. No hidden additives, just pure taste. Homemade KitchenAid ice cream has perks that store-bought can't match. It's easy to make the best ice cream recipes that fit your lifestyle and budget.
The Freshness Factor: No Preservatives or Additives
Commercial ice cream often has additives like xanthan gum or artificial colors. Your KitchenAid recipes avoid these, using simple ingredients like cream, eggs, and real vanilla.
“Fresher ingredients mean better taste,” says the USDA’s guide to homemade desserts.
Customization Options for Dietary Needs and Preferences
Adapt recipes to your diet effortlessly:
- Dairy-free: Substitute 1 cup milk with coconut milk.
- Low-sugar: Use ½ cup honey instead of refined sugar.
- Gluten-free: Add gluten-free oats or chocolate chips.
The best ice cream recipes let you tweak textures and sweetness levels without compromise.
Cost Savings of Making Ice Cream at Home
A batch of homemade ice cream costs about $4.50 for 4 servings—$1.13 per scoop. This is cheaper than premium store brands at $3–$5 per serving. Making 20 batches a year saves up to $150. Every spoonful tastes better and fits your budget.
Essential Equipment for Your KitchenAid Ice Cream Adventure
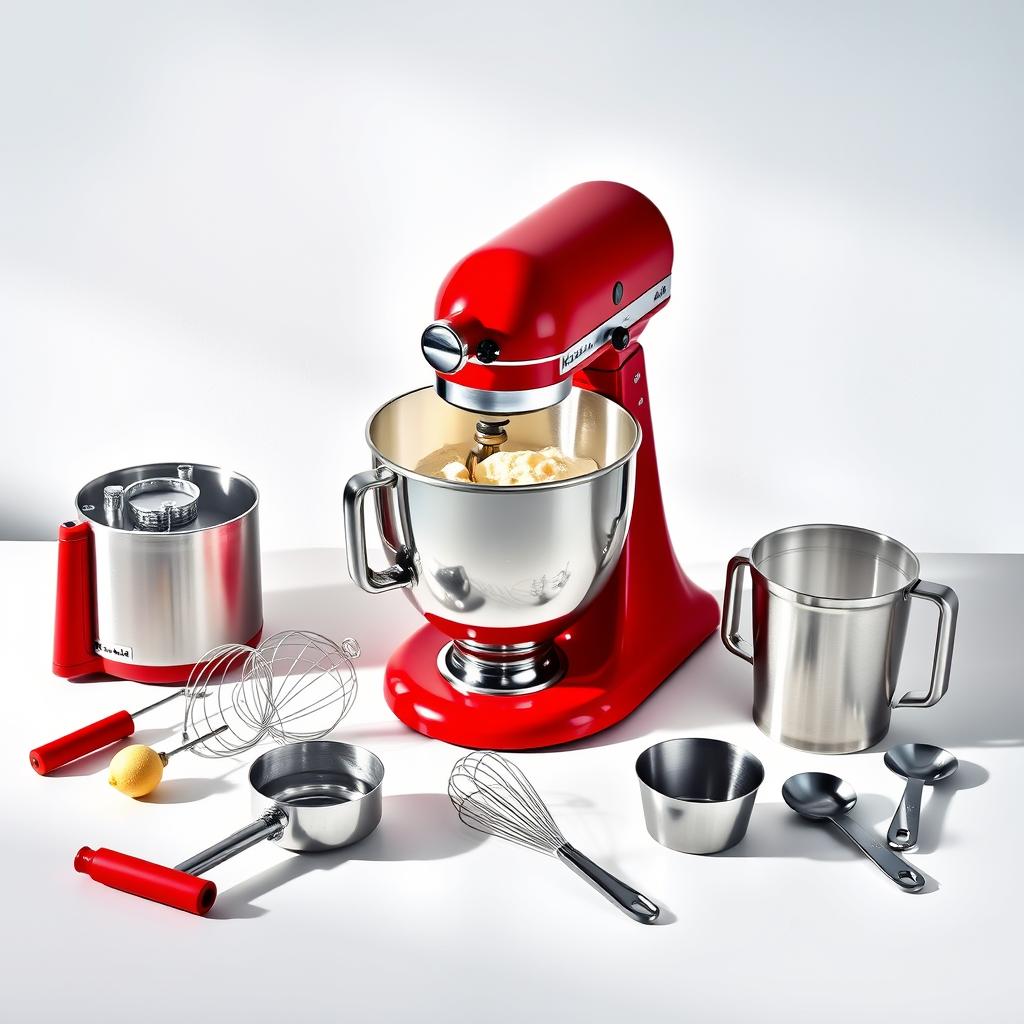
Starting your kitchenaid stand mixer recipes journey requires the right tools. Choose a KitchenAid model like Artisan or Professional Series. Make sure it comes with the ice cream maker attachment. This kit includes a freezer bowl, dasher, and drive assembly.
These parts work together to churn out creamy ice cream. It's a step towards making perfect desserts.
- Digital thermometer: Keeps custard-based kitchenaid attachment recipes at safe temperatures.
- Silicone spatula: Helps scrape every bit of mix-ins into the bowl.
- Airtight containers: Keep leftovers fresh in the freezer.
- Ice cream scoop: Makes serving scoops easy without tearing the texture.
Cleaning is important. Wash the freezer bowl and dasher by hand with mild soap. Don't soak the motor drive. Dry parts to prevent rust. If you're on a budget, a basic thermometer or plastic spatula will do.
With this kit, you're all set to start experimenting. Begin with simple recipes like vanilla custard or no-churn bases. As you get better, try more complex kitchenaid stand mixer recipes. Add mix-ins like chocolate chips or fruit swirls. Each tool ensures your setup is efficient and fun.
The Perfect KitchenAid Ice Cream Recipe for Beginners
Learn the basics with this easy ice cream recipes guide. Follow these steps to make creamy ice cream recipes that are smooth and delicious.
Begin with a simple recipe for 8 servings. Mix 2 cups of heavy cream, 1 cup of whole milk, ¾ cup of sugar, 1 tbsp of vanilla extract, a pinch of salt, and optional 4 egg yolks for a custard base. Each ingredient is important: cream makes it rich, milk balances it, sugar makes it soft, and vanilla adds flavor.
Base Vanilla Ice Cream Ingredients and Measurements
- Heavy cream (2 cups): Thickens the base
- Whole milk (1 cup): Adds body
- Granulated sugar (¾ cup): Sweetens and controls texture
- Vanilla extract (1 tbsp): Flavor base
- Salt (pinch): Enhances sweetness
- Egg yolks (4 optional): Creates custard texture
As you gather the ingredients for your recipe, consider whipping up a microwave chocolate lava cake. It’s quick, decadent, and pairs beautifully with a scoop of your freshly made ice cream.
Ingredient Substitutions for Dietary Restrictions
Change ingredients without losing flavor:
- Dairy-free: Use coconut cream or almond milk instead of milk and cream
- Sugar alternatives: Try honey, maple syrup, or stevia (adjust liquid)
- Egg-free: Skip the yolks for a quicker base
Preparing Your Mix Before Freezing
- Heat milk, sugar, and salt until sugar dissolves (5 mins).
- If using eggs, mix yolks with warm mixture, then cook until thick (8 mins total).
- Cool mixture in an ice bath (10 mins).
- Chill in fridge 4+ hours or overnight (crucial for smooth churning).
Once chilled, you’re ready to churn! This base works for all flavors in later sections.
While your ice cream is churning, why not also try preparing an easy apple crisp? It’s a comforting dessert that’s quick to make and will complement your homemade ice cream with its warm, cinnamon-spiced flavors.
Setting Up Your KitchenAid Ice Cream Attachment
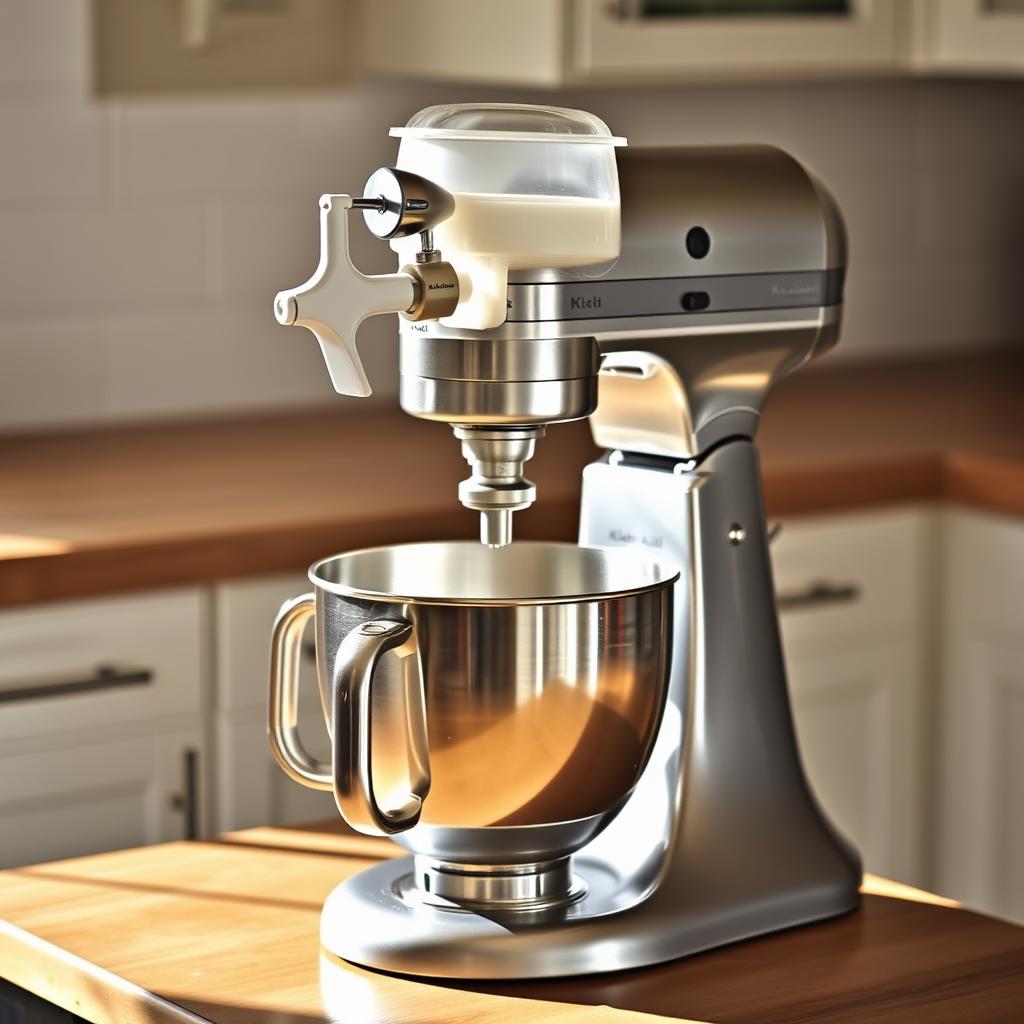
Getting your KitchenAid attachment ready is essential for making perfect kitchenaid ice cream recipe. Follow these steps to avoid common mistakes and ensure smooth production:
Pre-Freezing Requirements (24 Hours Ahead)
Freeze the stainless steel bowl at 0°F (-18°C) for 24 hours. Before using, gently shake the bowl. If liquid moves, it's not ready. For quick ice cream maker recipes, keep the bowl in the freezer.
Proper Assembly Instructions
- Attach the drive assembly to your mixer (30 seconds).
- Insert the dasher into the frozen bowl (30 seconds).
- Lock the bowl onto the mixer base (30 seconds).
- Secure the drive assembly into the mixer’s power hub (30 seconds).
Total setup time: 2 minutes. Make sure parts fit well to avoid wobbling during churning.
Common Setup Mistakes to Avoid
- Under-freezing the bowl: This makes ice cream too soft. Use a thermometer to check the temperature.
- Incorrect assembly order: Follow the sequence exactly for motor stability.
- Overfilling the bowl: Leave 1-2 inches at the top for proper aeration.
Double-check each part before starting. A well-prepared setup ensures every kitchenaid ice cream recipe turns out right.
Step-by-Step Churning Process with Your KitchenAid
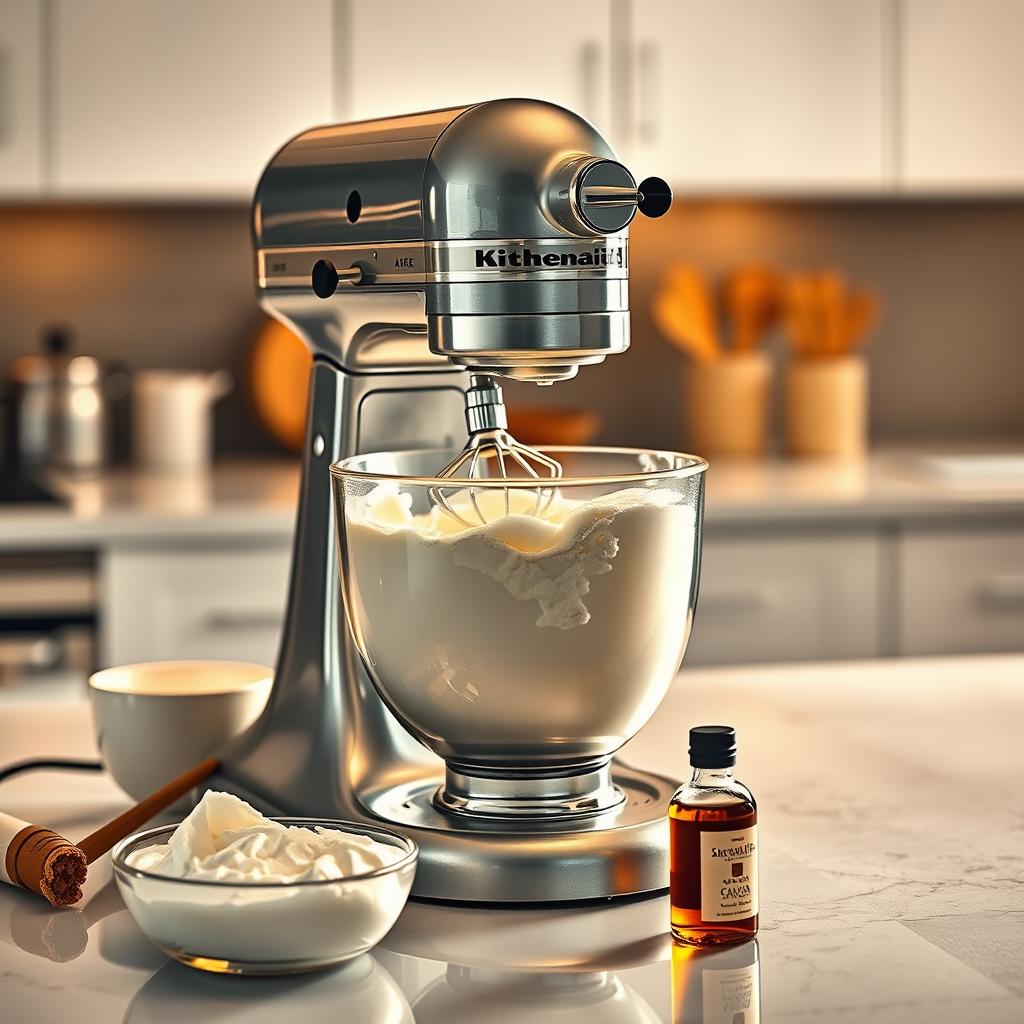
Before you start, make sure your ice cream base is cold and your container is frozen. This is key for the best homemade ice cream. Follow these steps carefully:
- Start the mixer on low speed (setting 2-3). Let it run for 10 seconds to get the dasher moving smoothly.
- Pour your cold base slowly into the bowl while the attachment runs. This 30-second step prevents clumps and ensures even mixing.
- Watch the mixture transform over 20-30 minutes. It will thicken, pull away from the sides, and form soft-serve peaks.
Stop churning when the texture reaches soft-serve consistency—the dasher will strain slightly. Over-churning leads to icy crystals, so trust your eyes and hands. Use a silicone spatula to transfer the mixture into your pre-chilled container. This 1-minute step keeps air pockets intact for creaminess. Freeze for at least 4 hours to harden—this final step completes your kitchenaid attachment recipes masterpiece.
Timing breakdown: 10 sec setup + 30 sec pouring + 20-30 min churning + 1 min transfer = Total 22-31 minutes active time. The rest is hands-off chilling. Celebrate as you witness science in action—your homemade ice cream evolving before your eyes!
Flavor Variations and Mix-in Ideas for Your Kitchenaid Ice Cream Recipe
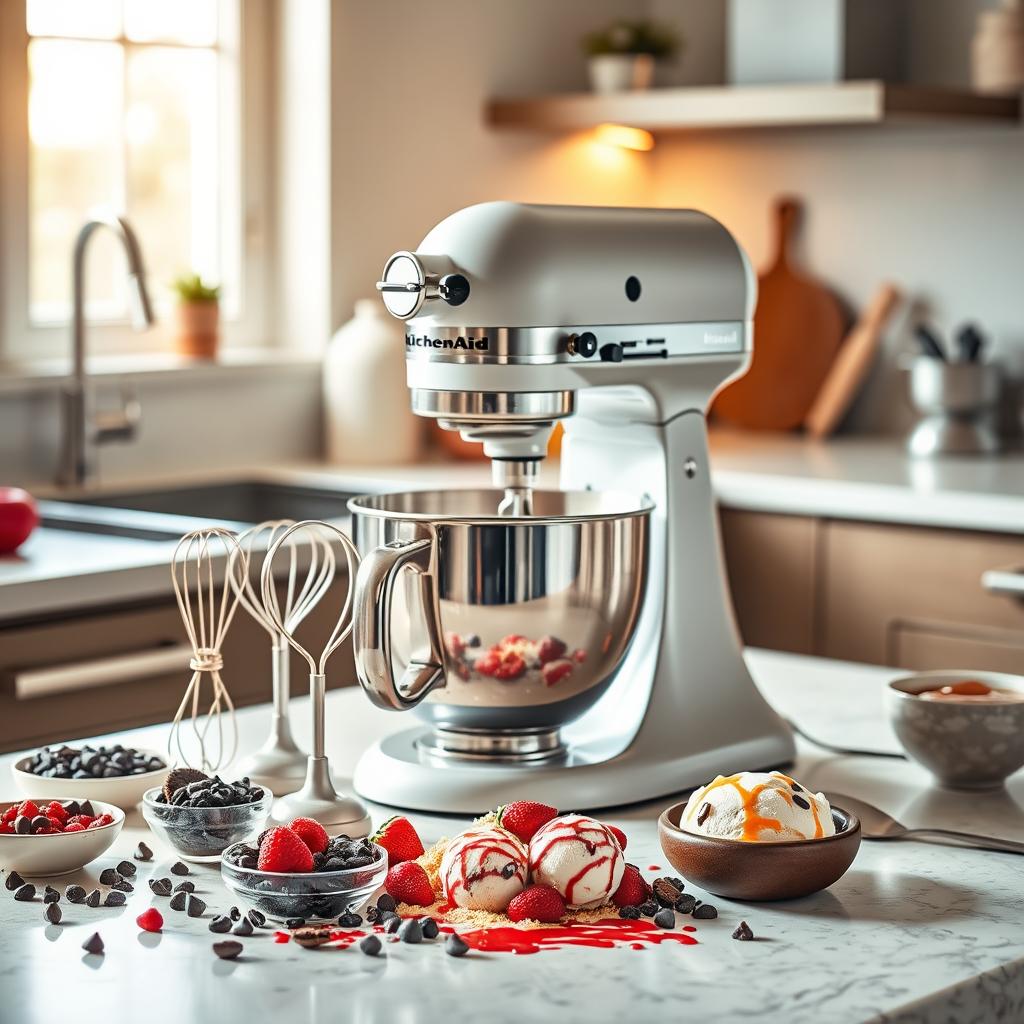
Make your kitchenaid ice cream recipe into a collection of delicious ice cream recipes. With a few tweaks, your base mix can become a blank canvas for creativity. Let's explore endless ways to make every scoop a delightful surprise.
Chocolate, Fruit, and Nut Variations
Transform your vanilla base into something truly special:
- Chocolate: Stir in ⅓ cup unsweetened cocoa powder or 4 oz melted dark chocolate.
- Strawberry: Fold in 2 cups macerated fresh strawberries before churning.
- Mint Chip: Blend 1 tsp pure mint extract and 1 cup dark chocolate chips.
- Nutty Delight: Toss in ½ cup toasted walnuts, pecans, or almonds.
Adding Mix-ins: Timing and Technique
Timing is key. Add mix-ins when the churner thickens to soft-serve (about 5 minutes before finishing). For an 8-serving batch, use 1–1.5 cups mix-ins. Chop ingredients small to avoid clumps.
Creating Ripples and Swirls
Layer flavors mid-freeze for marbled effects. Pour base into a container, drizzle with caramel or fudge sauce, then swirl with a knife. Try dark chocolate and raspberry combos for bold contrasts.
Looking for something to add a tropical twist to your meal? Serve your ice cream with a pineapple condensed milk dessert. This creamy dessert offers a light and refreshing contrast to the richness of the ice cream.
Troubleshooting Common KitchenAid Ice Cream Issues
Even with the best ice cream recipes, small mistakes can happen. Here’s how to fix common problems and keep your batches creamy and delicious:
| Problem | Cause | Fix |
|---|---|---|
| Too soft | Unfrozen bowl, warm mixture, or too much alcohol | Freeze bowl 24 hours before churning. Chill mix 1 hour before use. |
| Too hard/icy | Low fat content, over-churning, or poor storage | Add cream or egg yolks. Stop churning when mix thickens. Store in an airtight container. |
| Grainy texture | Undissolved sugar or under-cooked custard | Whisk sugar into liquid until dissolved. Heat mix to 170°F if using egg-based recipes. |
| Dasher stops turning | Thick mixture or loose dasher | Stop the machine. Stir in ¼ cup heavy cream. Reattach dasher tightly. |
| Off flavors | Stale ingredients or improper storage | Use fresh ingredients. Freeze in an odor-free container for up to 2 weeks. |
Every hiccup is a learning moment. If your first batch isn’t perfect, try these fixes and refer to the best ice cream recipes for structure. Patience and practice lead to velvety results. Remember: even pro chefs tweak their creamy ice cream recipes over time!
Conclusion: Enjoying Your Homemade KitchenAid Ice Cream Creations
Making ice cream with your KitchenAid stand mixer opens up a world of possibilities. Let it soften for 5–10 minutes before serving for the best texture. Store leftovers in an airtight container to keep it fresh for up to two weeks.
Be creative with how you serve your ice cream. Try drizzling hot espresso over a scoop for an affogato. Or blend it into milkshakes or layer it between graham crackers for a homemade sandwich. Keep track of your favorite mix-ins and flavors to make them again easily.
With your KitchenAid, you control every ingredient, from nut-free bases to premium add-ins. Homemade ice cream beats store-bought any day. As you practice, you'll get better at making it. Share your creations with friends or enjoy them all by yourself. The joy of making something special is part of the fun.
Let your imagination run wild. Your KitchenAid attachment can turn simple mixes into gourmet treats. Try new flavors like chocolate or fruit swirls. Each attempt makes you more confident. Enjoy every bite of your homemade ice cream!
While your recipe is churning, why not also try preparing an easy apple crisp? It’s a comforting dessert that’s quick to make and will complement your ice cream with its warm, cinnamon-spiced flavors.
FAQ
What type of KitchenAid mixer do I need to make ice cream?
You need a KitchenAid stand mixer that works with the ice cream maker attachment. Models from KSM90 and up are compatible. They help you make delicious homemade ice cream.
How long does it take to make homemade ice cream?
It takes about 30 minutes to prepare, 20-30 minutes to churn, and 24 hours to freeze. The wait is worth it for creamy, dreamy ice cream.
Can I use alternatives for dairy in my ice cream recipe?
Yes! You can use non-dairy options like coconut cream or almond milk instead of traditional dairy. Keep in mind it might change the creaminess and flavor.
What homemade ice cream flavors can I try with my KitchenAid?
You can make many flavors! Try vanilla, chocolate, mint chocolate chip, and strawberry. You can also add nuts or mix-ins like cookie dough or fruit for something unique.
Why is my ice cream too soft?
If your ice cream is too soft, make sure the mixing bowl was frozen for 24 hours at 0°F (-18°C). Adding more fat to your recipe can also help.
How can I add mix-ins to my ice cream?
Add mix-ins when your ice cream is soft-serve, about 5 minutes before it's done. Fold in 1-1.5 cups of mix-ins gently for even distribution.
How do I store my homemade ice cream?
Store it in airtight containers in the freezer. Cover it with plastic wrap to reduce air exposure. Enjoy it within 1-2 weeks for the best taste.
Can I make ice cream without an ice cream maker attachment?
Yes! You can make ice cream with a blender or food processor. It might not be as creamy. Blend your ingredients, then freeze them, stirring every 30 minutes until it's fully frozen.
